

How to Use Trinity iGlow 10 Home IPL Hair Removal: Operation Guide
Aug 13, 2024
Hello everyone! Today we are going to get to know the fantastic Trinity iGlow 10 hair removal device. Are you eager to try it out already? Let's first take a look at what's in the box!
When you open the package, you will find:
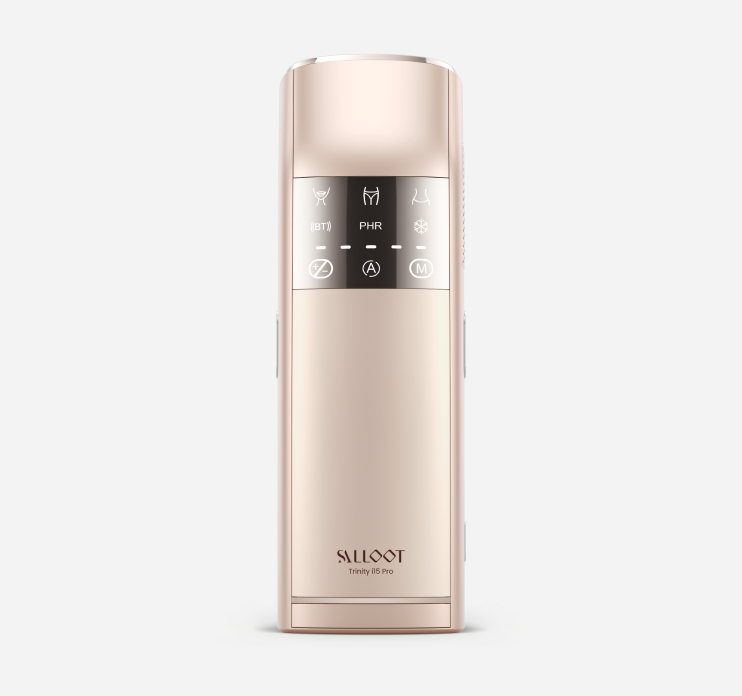
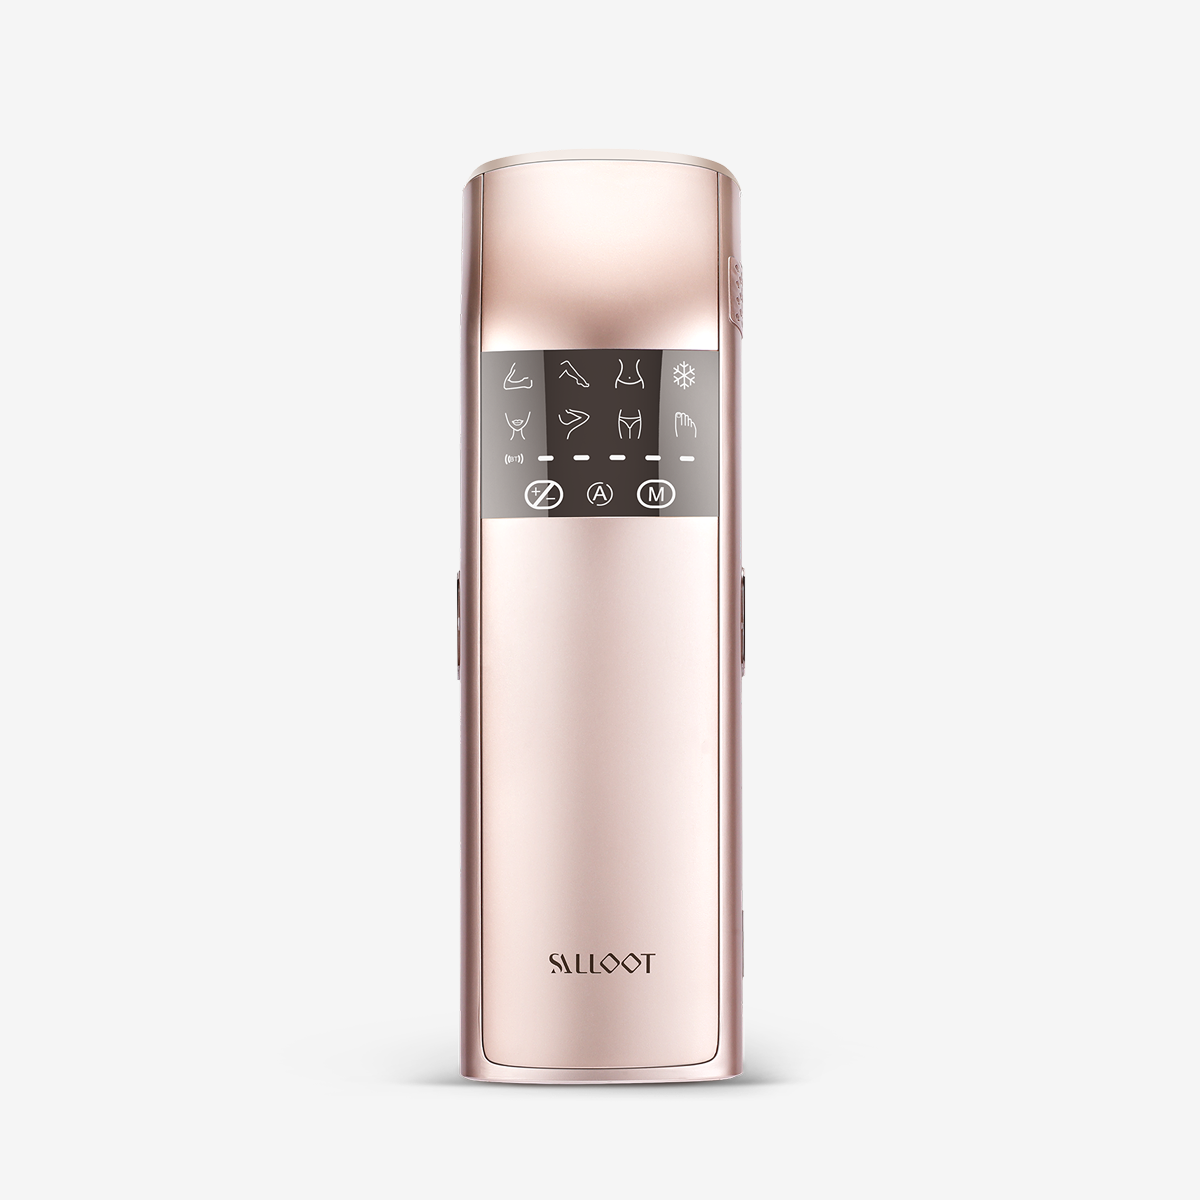
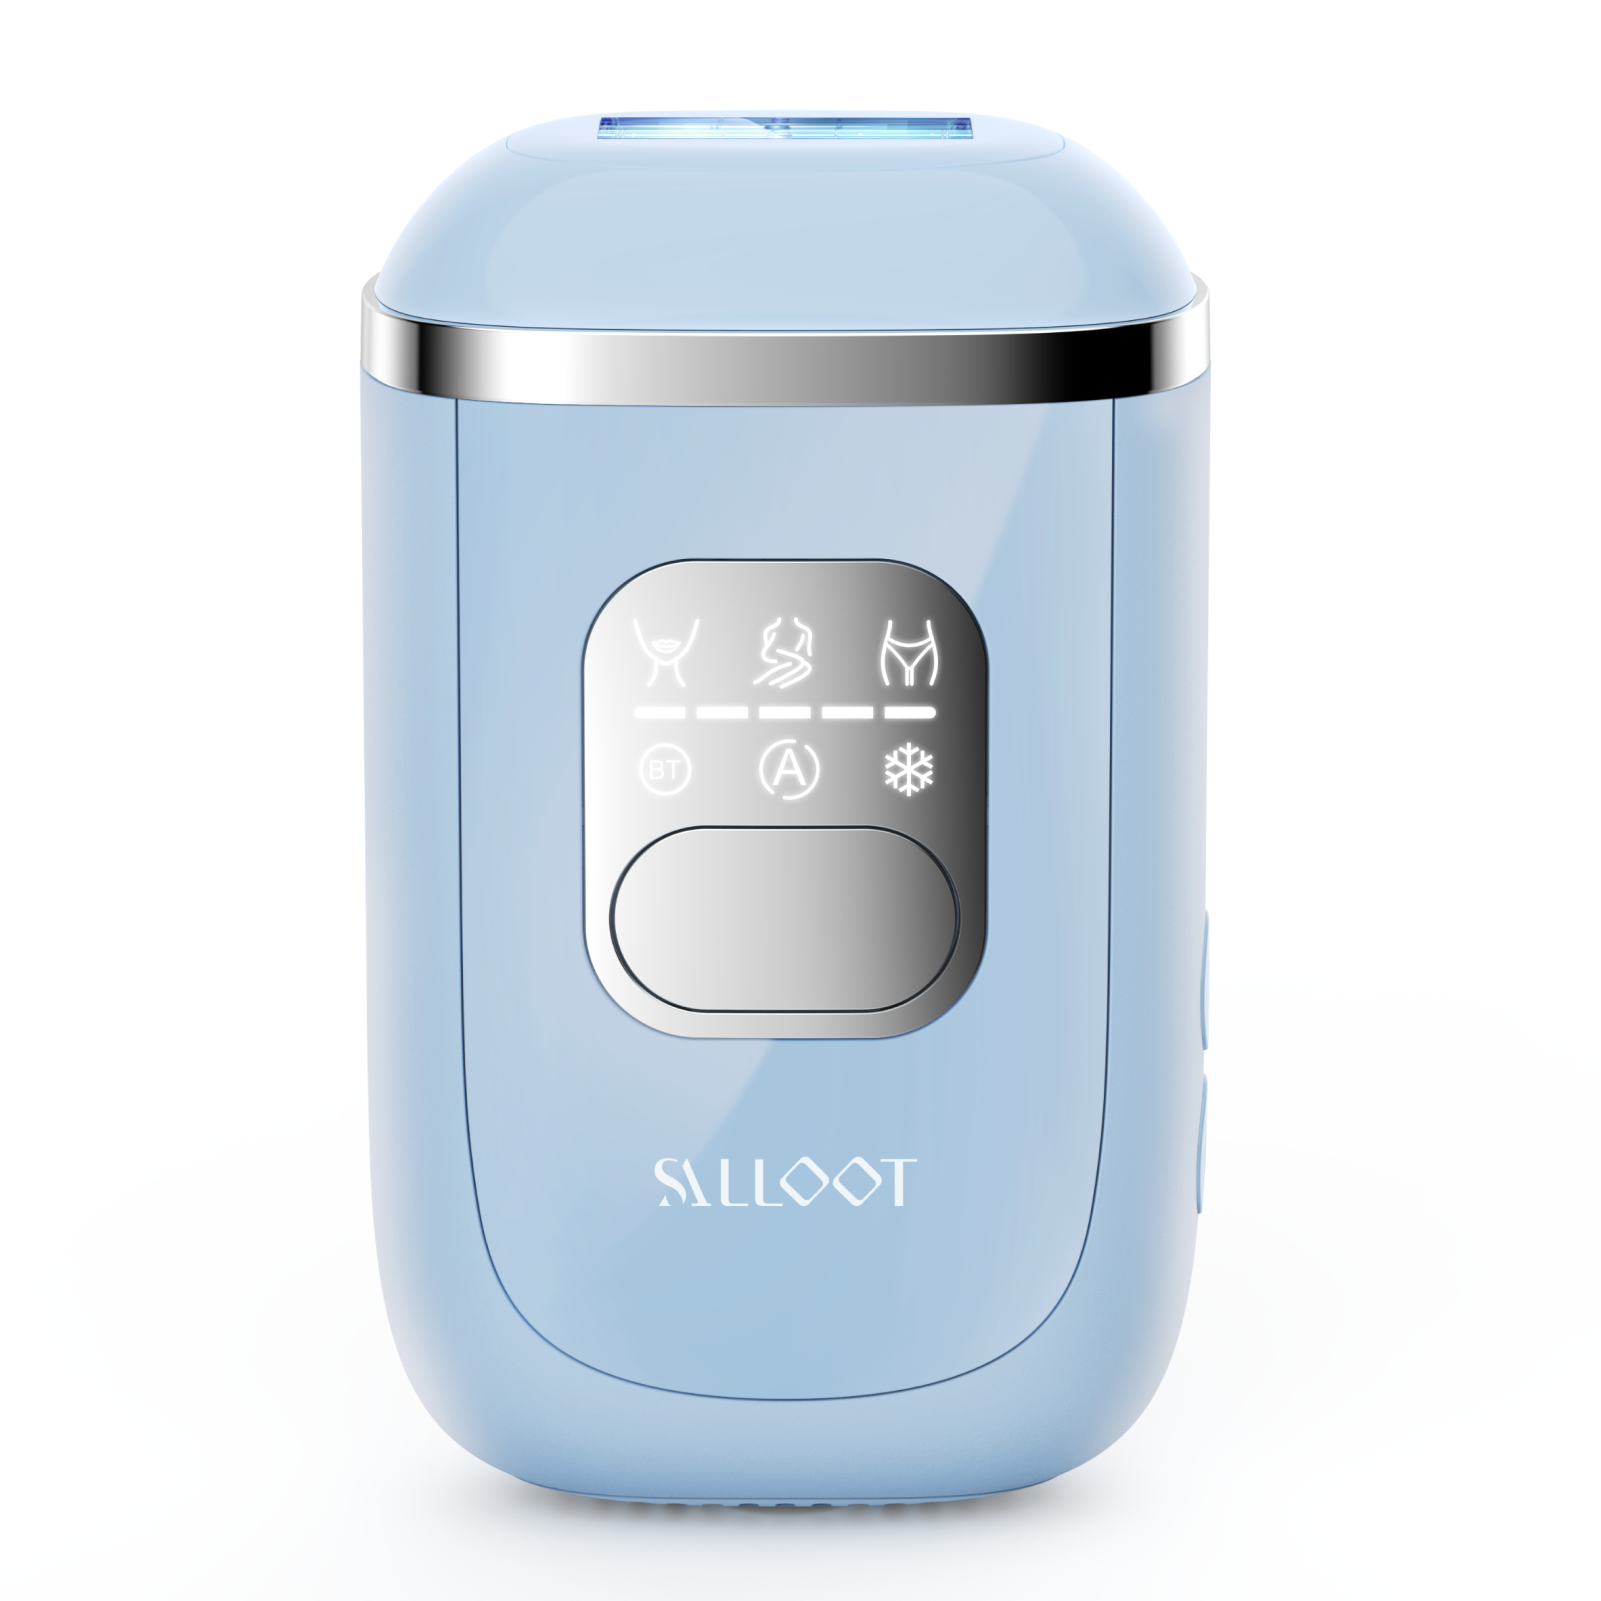
Trinity iGlow 10 hair removal device*1 (with adapter); Power connector; Protect eyes safety goggles; razor; APP operation guide; user manual

Let's start our journey of efficient and painless hair removal with Trinity iGlow 10 right away!
Step 1: Shave the hair
First, you need to shave the hair in the target area. Shaving ensures that the light energy from the hair removal device acts directly on the hair follicles and is not absorbed by the hair. If you operate without shaving, the hair will absorb most of the energy, reducing the effectiveness and possibly causing a burning sensation or even burns on the skin. Therefore, shaving is an important step to ensure the effectiveness and safety of hair removal.
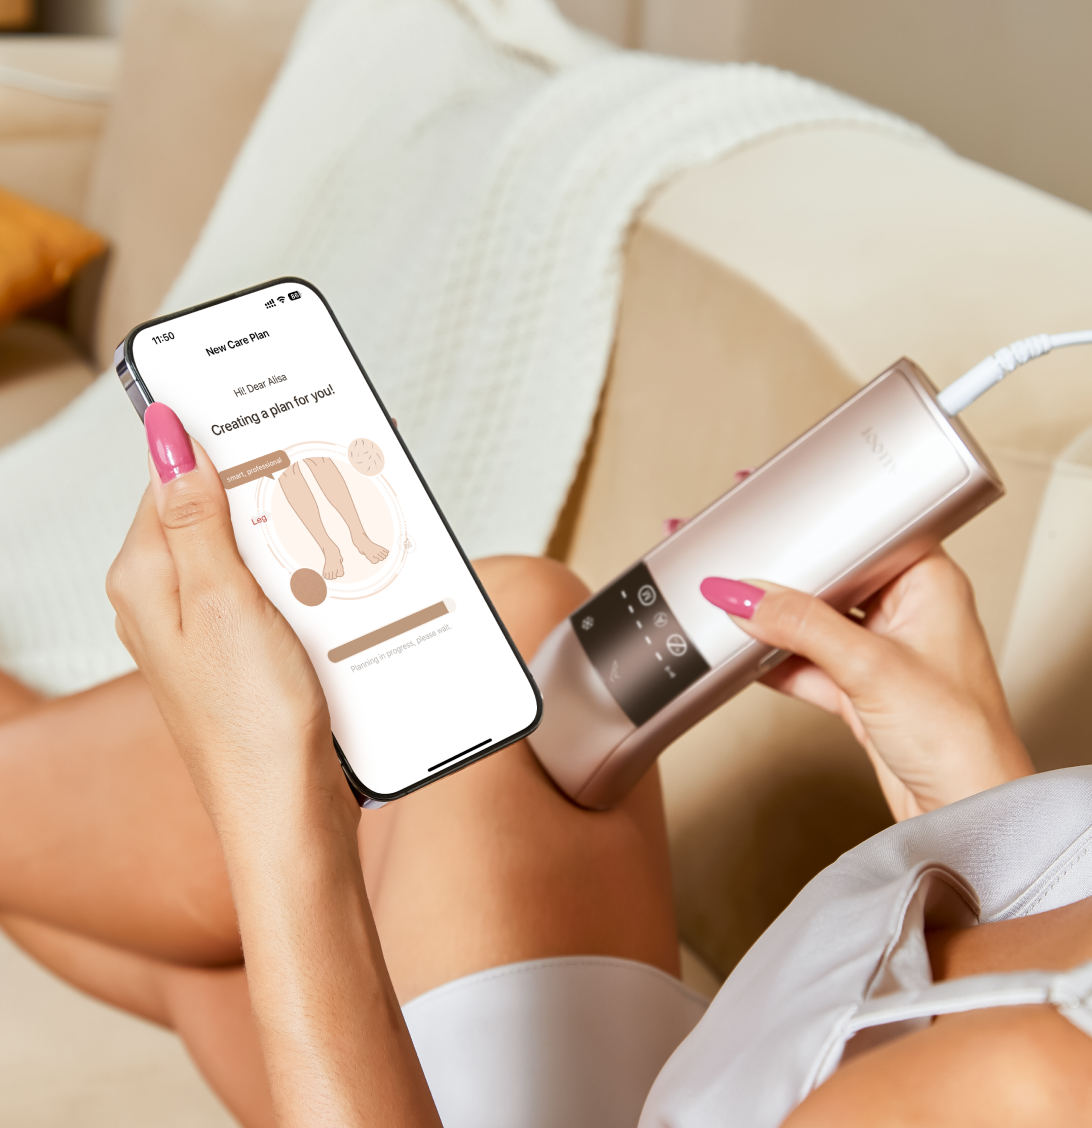
Step 2: Pair the device with the APP
After plugging in, download the CTONE APP from Google Play or Apple Store. Turn on your phone's Bluetooth, plug in the device and press the switch, register an account, and then click the "+" sign in the upper right corner of the APP to pair the device. Once paired successfully, the matched product will be displayed on the APP interface.

Next, you can choose to operate directly on the device's touchscreen or via the APP.
BUT Why use the APP? Using the APP not only records your hair removal progress but also provides suggestions and reports based on your usage. Additionally, the Care Plan feature in the APP can remind you to perform hair removal treatments regularly, making your hair removal plan more systematic and efficient.
After opening the APP, you will see two modes: Newbie and Expert. For first-time users, Newbie mode will recommend the appropriate level and light pulses based on your hair density, area, and hair color to avoid discomfort from improper settings. Once you are familiar with the operation, you can switch to Expert mode, where the Auto mode is particularly convenient for large areas of hair removal (such as legs and arms), as it automatically emits light without manual pressing.

The second option in the bottom navigation bar of the APP is Care Plan, where the system can recommend treatment plans based on the hair removal area you choose. Once set, it will remind you to complete the treatments on time, helping you achieve permanent hair removal results. (For more details, please refer to the related APP operation blog)

Step 3: Wear the goggles to protect eyes
Now, it's time to actually operate the device. First, be sure to wear the safety goggles. The strong light (IPL photon) emitted by the hair removal device may harm your eyes, especially when operating at high levels where the light is stronger. The goggles effectively filter out harmful light, protecting your eyes.
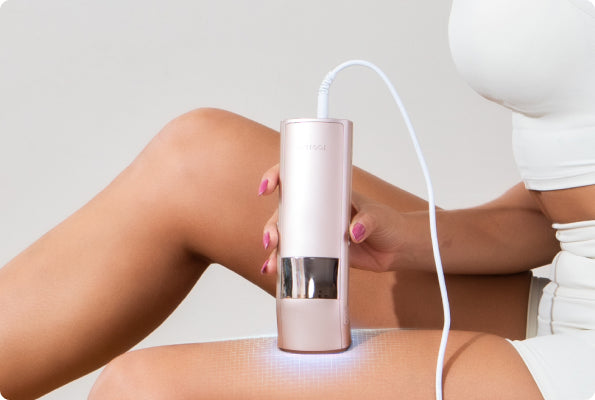
Step 4: Activate the device and choose energy level
You can directly select the location and level through the device's touchscreen, or set it first in the APP. Then, press the two buttons on the side of the device to start emitting light.
Benefits of using Auto mode? Auto mode is particularly suitable for large areas of hair removal, such as legs or arms, freeing up your hands and shorten the treatment time.

Notes:
- Ensure the skin is dry before hair removal: Dry skin ensures that the light energy is evenly transmitted, avoiding light refraction or scattering by sweat, thus enhancing hair removal effects and reducing skin irritation.
- The hair removal device must be close to the skin: The device needs to be in close contact with the skin to ensure that the light energy directly reaches the hair follicles. If the device is too far from the skin, the energy may be lost, leading to suboptimal hair removal results.
- Test the skin's tolerance by using the lowest level before hair removal: This is to determine your skin's tolerance to the photon energy. If redness or discomfort occurs, it is recommended to stop use and lower the level to avoid further skin irritation.